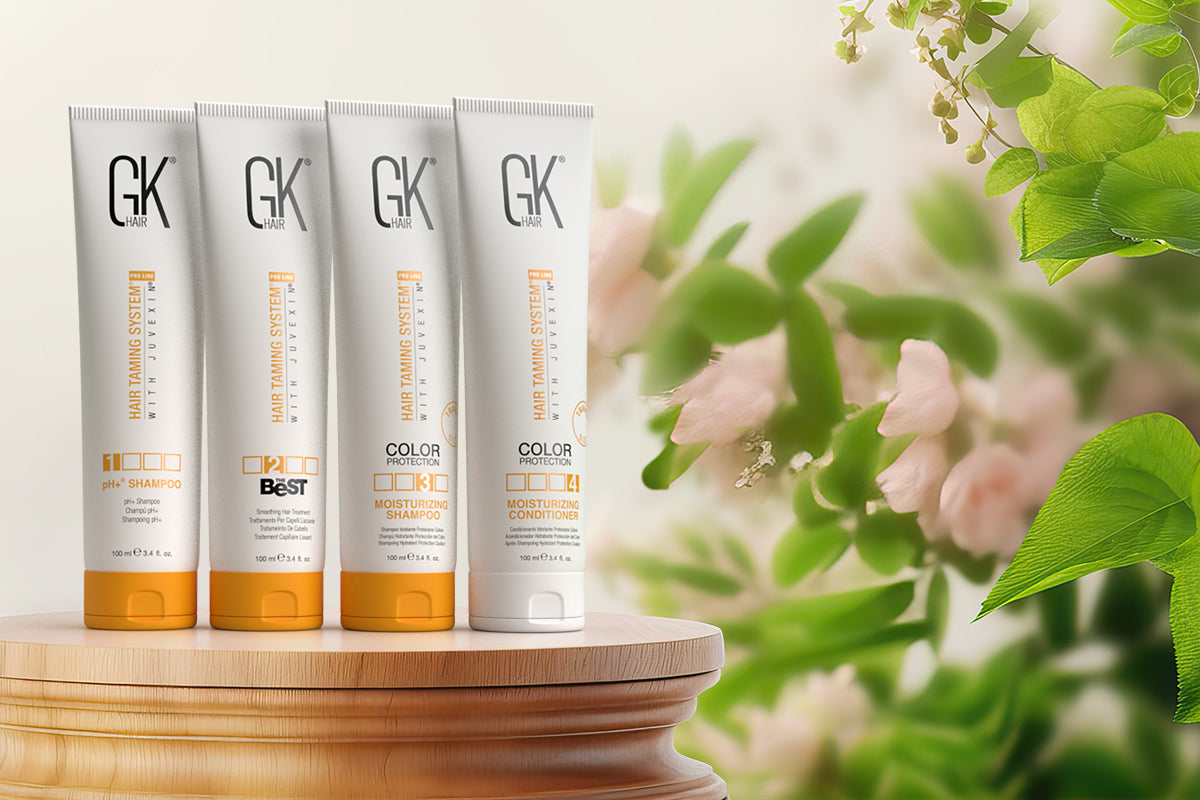
Your Step by Step Guide for Curl-Taming Treatment: Managing curly hair can be a challenging yet rewarding experience. Combining curl-taming treatments with highlights can elevate your look, adding dimension and shine while keeping frizz at bay. This step-by-step guide will help you achieve beautifully tamed curls and stunning highlights, all while maintaining the health of your hair.
- Step 1: Consultation and Preparation
- Step 2: Curl-Taming Treatment
- Step 3: Adding Highlights
- Step 4: Styling and Maintenance
Step 1: Consultation and Preparation
Consult with a Professional Stylist
Before starting any treatment, it’s essential to consult with a professional stylist who specializes in curly hair. Discuss your desired outcome, hair type, and any concerns you may have.
Prepare Your Hair
A week before your appointment, deep condition your hair to ensure it’s well-hydrated. Avoid washing your hair the day before to allow natural oils to protect your scalp during the treatment.

Step 2: Curl-Taming Treatment
Choose the Right Treatment
There are various curl-taming treatments available, such as keratin treatments, Brazilian blowouts, and chemical relaxers. Your stylist will recommend the best option based on your hair type and desired results.
Application Process
Cleanse: Your stylist will start by washing your hair with a clarifying shampoo to remove any buildup.
Apply Treatment: The chosen treatment will be applied section by section, ensuring even coverage.
Heat Activation: Depending on the treatment, your hair may be blow-dried and flat-ironed to activate the formula.
Post-Treatment Care
Follow your stylist’s instructions for post-treatment care. This may include avoiding washing your hair for a few days and using sulfate-free shampoos and conditioners.
Step 3: Adding Highlights
Choose Your Highlight Style Decide on the type of highlights you want. Options include balayage, foils, or babylights. Discuss the best choice for your curls with your stylist.
Application Process
Sectioning: Your stylist will section your hair to ensure precise application.
Applying Lightener: The lightener will be applied to the selected sections. Foils may be used to separate and process the hair.
Processing Time: The lightener will be left on for a specific time, depending on your desired level of lift.
Toning and Conditioning
After reaching the desired lightness, a toner will be applied to achieve the perfect shade. Your stylist will then condition your hair to restore moisture and strength.
Step 4: Styling and Maintenance
Initial Styling Your stylist will style your hair to showcase the new curls and highlights. This may include diffusing your curls or using a lightweight styling product.
Ongoing Maintenance
- Hydration: Keep your curls hydrated with regular deep conditioning treatments.
- Color Protection: Use color-safe shampoos and conditioners to maintain your highlights.
- Regular Touch-Ups: Schedule touch-ups every 8-12 weeks to keep your highlights fresh and your curls defined.
Daily Care Tips
- Use a wide-tooth comb or your fingers to detangle your curls.
- Sleep on a satin pillowcase to reduce frizz and breakage.
- Refresh your curls with a water and leave-in conditioner spray.
Conclusion
Achieving beautifully tamed curls and stunning highlights is possible with the right approach and care. By following this step-by-step guide and working closely with a professional stylist, you can enjoy gorgeous, manageable hair that highlights your natural beauty. Embrace your curls, and let your highlights shine!
For more hair care tips and inspiration, stay tuned to our blog and explore our range of products designed to keep your curls healthy and vibrant.


Leave a comment